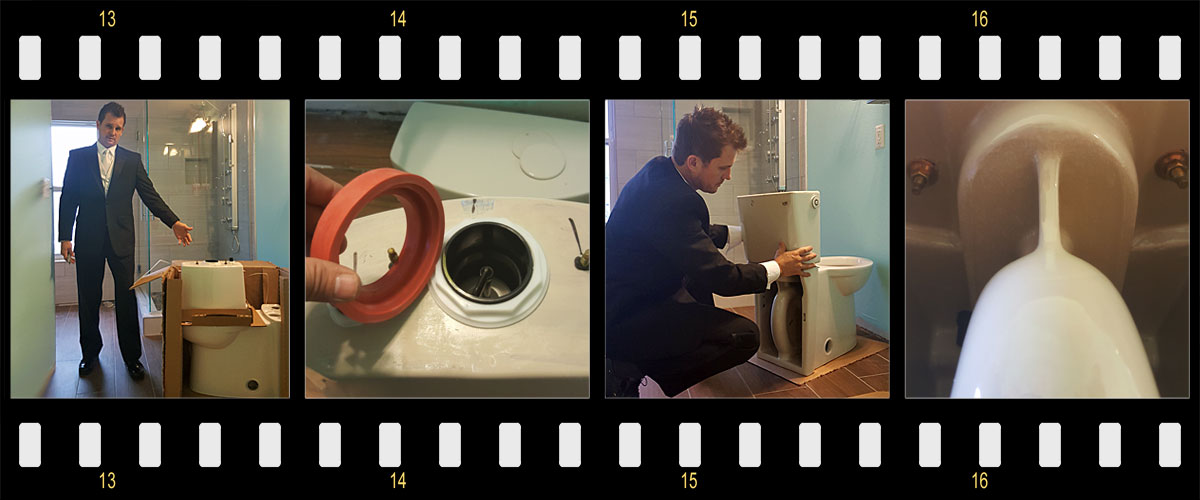
Installing a new toilet doesn’t have to be a “dirty job” and I just installed this one while wearing my tuxedo just to prove it!
Learning the tricks of the trade in home improvement can be an empowering feeling… almost like MAGIC!
My friend Tami started remodeling her master bathroom this past September and I agreed to help out with a few of the projects pertaining to the renovation. She had new tile installed on the floor and also on the walls surrounding the bathtub and shower areas. New lighting, glass shower, vanity, and toilet were among the upgrades; but not just any toilet… this was a “magic toilet”. LOL Tami had chosen one of those new sleek, hands free toilets with the motion sensor that flushes with just a wave of your hand. Over the years I’ve noticed that toilet installation can be an intimidating project for many people, so I decided to use this opportunity to highlight just how simple (and clean) the task can actually be. Here’s the steps I took:
1) Carefully unbox the contents. You will find 3 primary components which are the base, the tank, and the lid. Separate each component into 3 areas, making sure to keep the corresponding hardware with each piece. You’ll have bolts, washers, and nuts to fasten the base to the floor. You’ll have a pack of bolts with washers, nuts, and rubber plugs that will be used to fasten the tank to the base. You should also find a large rubber gasket and a box containing the wax ring that seals the connection between the base of the toilet and the drain pipe flange.
2) Use all or part of the packaging box as a clean, soft assembly mat and remember that the 3 primary components (base, tank & lid) are prone to breaking if dropped or hardware tightened down too hard.
3) Attach the large rubber tank ring (shown in photo #2 above) to the hole at the bottom of the tank.
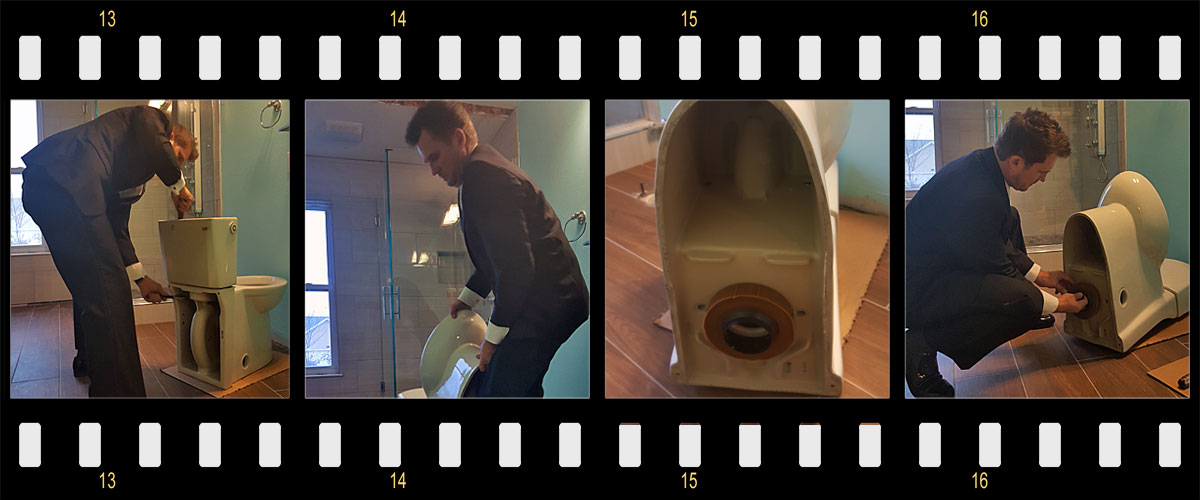
4) Position the tank into place on the toilet base and push the bolts with rubber plugs or washers through the aligned holes of the tank and base from inside the tank so that the threaded ends of the bolts are accessible from the under side of the tank. (See photos #3 & #4 above)
5) Thread the corresponding washers & nuts onto the bolts. Use a long handled flat head screw driver to reach into the tank and tighten the bolts while preventing the nut from turning with a small adjustable wrench or boxed end wrench. Carefully toggle back and forth from one side to the other tightening each side until snugly compressing the rubber seal ring and eliminating any looseness. Make the final turns on the end with the nut using the wrench. The 2 pieces should now feel like one large unit bonded securely. (See photo #5 above)
6) Now it’s time to lay the newly assembled toilet on it’s back in order to expose the drain hole on the bottom of the base. Apply the wax ring (plastic flange outward) around the drain hole. I like to use a jumbo wax ring or add an additional half thickness wax ring around the plastic flange to ensure a good seal when the toilet is seated into place. (See photo #7 & #8 above)
7) Lift & set the toilet into place by aligning the toilet drain hole with the flange hole in the floor… once the anchor bolts align with the mounting holes in the toilet base, you know you’re fully aligned and ready to set the unit in place. (See photo #9 above)
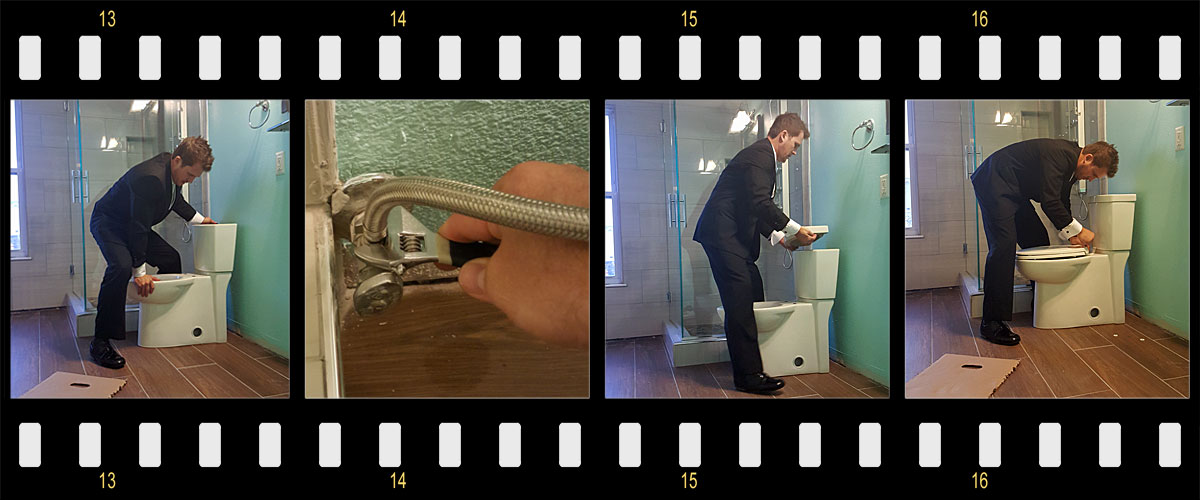
8) Use the supplied washers & nuts to fasten the toilet into place, be careful to tighten snugly but not so tight that you crack the base.
9) Finally, connect the water supply line to the shut off valve & threaded nipple at the bottom of the tank. (See photo #10 above). Fasten the toilet seat into place, and then apply the tank lid after observing that everything inside the tank is functioning properly after a couple flushes. You did it! You’ll want to double check that the bolts bonding the toilet to the floor haven’t loosened after a few days of use as added weight can cause the toilet to sink a fraction deeper into the wax until it levels into it’s final position.
You can follow my do-it-yourself channel on all of the top social media platforms @TraceysToolbox where I share my home improvement projects & tips!


Add comment