How To Prevent Leaks By Fixing Damaged Shingles
We’ve experienced several storms this summer that have caused wind damage to roofs in the region, so it wasn’t a big surprise when I recently noticed discoloration to a bedroom ceiling in one of my properties caused by a slow leak in the roof. I decided this would be an excellent opportunity to share a quick & easy roof repair tip for patching damaged shingles and preventing ongoing water damage to your property’s interior. Although this method is really just a temporary fix to prevent further damage until the roof is professionally repaired, I have used this technique to address small areas on several roofs in the past and the patch has ended up lasting several years without recurring issues.
1) Remember, I never told you to get up on that roof!
Roofing shingles are more susceptible to damage during the heat of the day so I try to limit walking on a roof to early morning or evenings when the softened asphalt based materials regain their rigidity.
2) Identify the damaged area
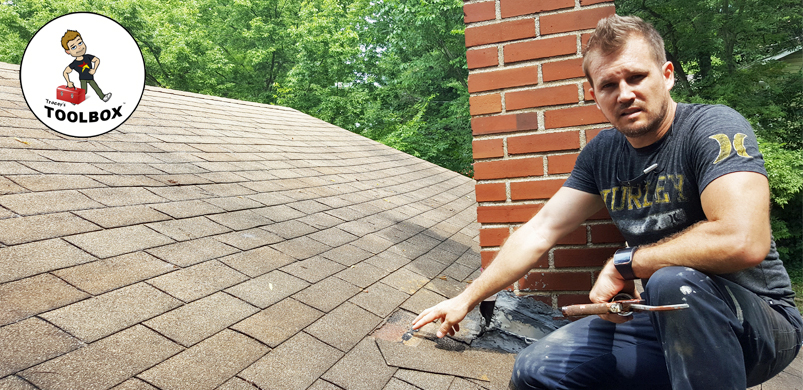
Some of the most common minor roof leaks are the result of broken shingles and cracks in tarred areas around plumbing vents and chimney flashing. I initially expected the chimney to be the culprit due to it’s proximity to the water discoloration in the bedroom, however a quick visual scan of my roof revealed one missing shingle tab and one damaged tab just two rows up from that area. Since I was already on the roof I went ahead and checked all previously tarred areas around the chimney and kitchen / bathroom plumbing vents just to make sure. The chimney and bathroom vent pipe were fine but the small pipe venting the kitchen sink had obviously developed a gaping crack that needed to be filled. (see photos 7 & 8)
3) Patch the nail holes
This house was roofed with 3 tab shingles. The top half of each shingle is typically a darker shade than the bottom half which is divided into the 3 tabbed sections that are visible after installation. Despite the style of shingles used, they are always applied in rows beginning at the bottom edge of the roof just above the guttering and overlapping in half widths. Each row is offset so that the seams are staggered. This adds strength by creating a woven effect that minimizes the likelihood of entire sections blowing off during high winds. Each shingle is typically fastened into place using an average of 3 – 4 nails along the tar line. The tar line bonds the lower lip of each shingle tab to the upper half of the previous row of shingles and also seals the area around each nail. When a tab is broken off you will likely see exposed nail heads. (See photo 1) The upper half of the lower shingle will still provide a layer of protection, but since the nail punctures are no longer shielded by the overlapping tab this allows just enough moisture seepage during hard rains.
I began by applying a large dab of roofing tar (available at any hardware store) with a caulk gun to the nail heads.

4) Re-bond the broken shingle
Next I applied a generous amount of roofing tar along the edge where the shingle broke off. Then I applied another bead along the old tar nail line. (See photos 2 & 3) Regardless if I was re-bonding the original broken shingle or patching in a new tab, my next step was to apply a bead of tar along the top edge of the replacement tab and about 1/3 down the edge of both sides. I then pressed the tab into place, carefully matching the broken edges as close as possible while insuring the tab was well bonded. The pressure forced some of the tar out from under the edges of the tab. I added another small bead of tar along the top edge and smeared it out flat with a puddy knife. Rain will now run down the shingles like water off the layers of overlapping feathers on a duck’s back. This patched in shingle is actually stronger now than it was originally as it is basically glued to the roof with waterproof tar.

5) Patch any cracks or holes around plumbing vents
As you can see in photos 7 & 8, I filled the large crack around the boot for the sink vent with this same roofing cement product and smoothed out the seam to insure a good patch.


Let me know, how long this rebonding the broken shingle will standby??? Roofing Company in Chennai
Thanks for commenting on my roof repair post… the rebonded broken tabs featured in this tip have successfully held for coming up on 3 years this July 2019 & still holding strong! 😃
Great blog! A quick and easy roof repair tip can be a real lifesaver—like sealing small leaks with roofing cement or replacing a damaged shingle right away. Simple fixes like these can prevent bigger, costlier problems down the road.